Instructions
1. Create the Filling:
In the bowl of a stand mixer fitted with the paddle attachment or a large bowl using a hand mixer, beat the peanut butter, softened butter, and vanilla extract together on medium speed until smooth and completely combined, about 1-2 minutes.
2. Incorporate the Sugar and Crunch:
Sift the powdered sugar into the peanut butter mixture. Mix on low speed until the sugar is incorporated and the mixture is smooth. Use a spatula to gently fold in the 1 ½ cups of Butterfinger Bits until they are evenly distributed.
3. Chill and Shape:
Cover the bowl and refrigerate the mixture for 30 minutes, or until it is firm enough to handle. Using a medium cookie scoop (about 1 tablespoon), portion the mixture and roll it into smooth balls. Place them on a parchment-lined baking sheet and freeze for 20-30 minutes until solid.
4. Melt the Chocolate:
While the balls are chilling, melt the chocolate wafers in a deep, microwave-safe bowl. Heat in 30-second intervals, stirring thoroughly after each, until the chocolate is completely smooth and fluid.
5. Coat the Balls:
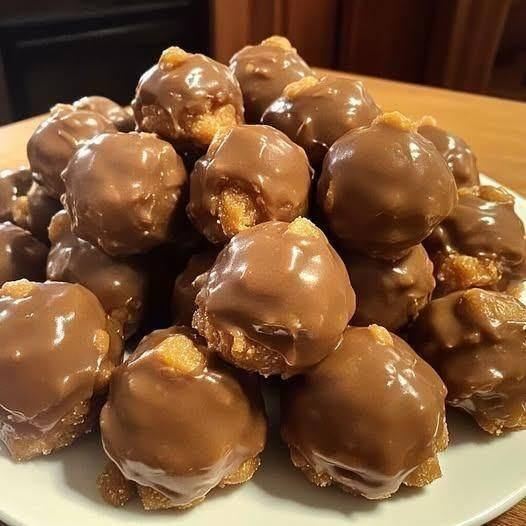
Remove the peanut butter balls from the freezer. Using a fork or a dipping tool, dip each ball into the melted chocolate, tap off the excess, and return it to the parchment paper. Immediately sprinkle the top with a few extra Butterfinger Bits before the chocolate sets.
6. Set and Serve:
Allow the chocolate to harden completely at room temperature, or transfer the tray to the refrigerator for about 15 minutes to speed up the process. Once set, store in an airtight container in the fridge.
Chef’s Notes & Tips
For Perfect Dipping: Ensure the balls are very cold and firm before dipping. This prevents them from falling apart and helps the chocolate set quickly for a smooth shell.
Butter Substitution: You can use unsalted butter if preferred. Just add a small pinch of salt to the peanut butter mixture to enhance the flavors.
Melting Chocolate Success: Be careful not to overheat the chocolate. If it becomes too thick, you can thin it with a teaspoon of coconut oil to improve the dipping consistency.
Storage: Keep these candies stored in an airtight container in the refrigerator for up to 2 weeks. They can also be frozen for up to 3 months.