Fresh and Creamy: Strawberry Banana Pudding Dream
Introduction
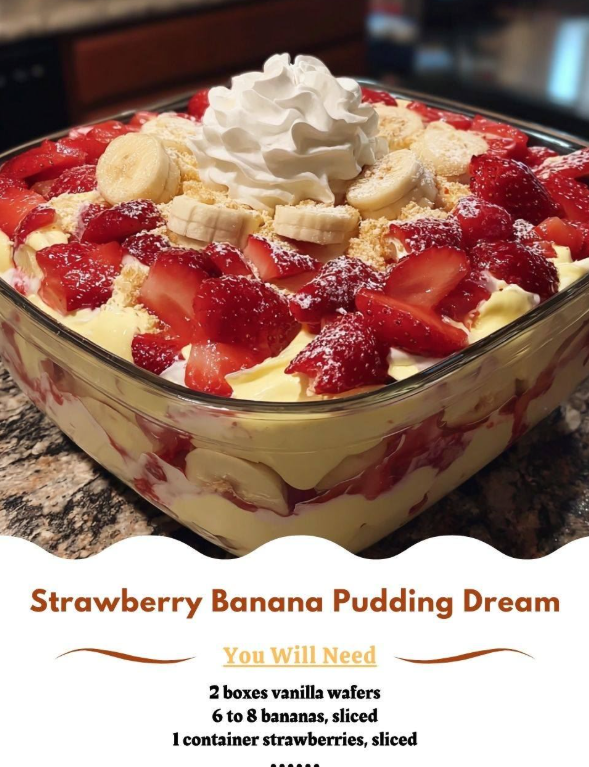
The **Strawberry Banana Pudding Dream** is a vibrant, no-bake twist on the beloved Southern classic. It retains the signature comfort of creamy vanilla pudding and tender vanilla wafers while introducing the bright, sweet-tart flavor of fresh strawberries. This infusion of fruit not only makes the dessert lighter and visually stunning but also cuts the richness, making it a perfect dessert for spring, summer, or any occasion that calls for a fresh finish.
This dish relies on a simple, luscious creamy filling made with a combination of instant pudding, milk, and whipped cream or whipped topping, creating that melt-in-your-mouth texture. Layered with the classic vanilla wafers, ripe bananas, and sweet strawberries, the magic happens during the chilling process when the wafers soften and absorb the vanilla custard, merging all the textures into one harmonious “dream.”
Ingredients: The Essential Layers of Cream and Fruit
The recipe is simple, focusing on the quality of the fresh fruit and the velvety texture of the vanilla custard:
For the Layers:
2 boxes Vanilla Wafers: The foundational layer, providing a crisp texture initially and a tender, cake-like texture after chilling.
6 to 8 Bananas, Sliced: Must be perfectly ripe (yellow, no green) but still firm enough to slice cleanly.
1 Container Strawberries, Sliced: Fresh, vibrant fruit that adds color and tang.
For the Vanilla Custard Filling:
2 packages (3.4 oz each) Instant Vanilla Pudding Mix: The thickening agent and primary flavor for the custard.
3 cups Cold Milk (Whole or 2% recommended): Used to activate and thicken the instant pudding.
1 container (8 oz) Frozen Whipped Topping (like Cool Whip), thawed: Folds into the pudding to create a light, airy, mousse-like consistency.
1 tsp Vanilla Extract (Optional): Boosts the vanilla flavor profile.
The quality of the bananas is critical. Use ripe, yellow bananas that are not bruised or overly spotty, as those will turn brown and mushy too quickly in the dessert.
Instructions: Assembling the Dream Layers
⬇️ Ready for the rest? Click Next Page below to continue reading. ⬇️